The Workshop:


Re-attaching the boards:

Our original plan was to simply stand the boards up, and attach the corners with hinges. After we finally had a set that resembled what i wanted, the first step was to paint the whole thing white. We had 5 shoots planned so i had designed two fitting sets, the first one was a black, white and red woodland scene.
Painting the boards white:
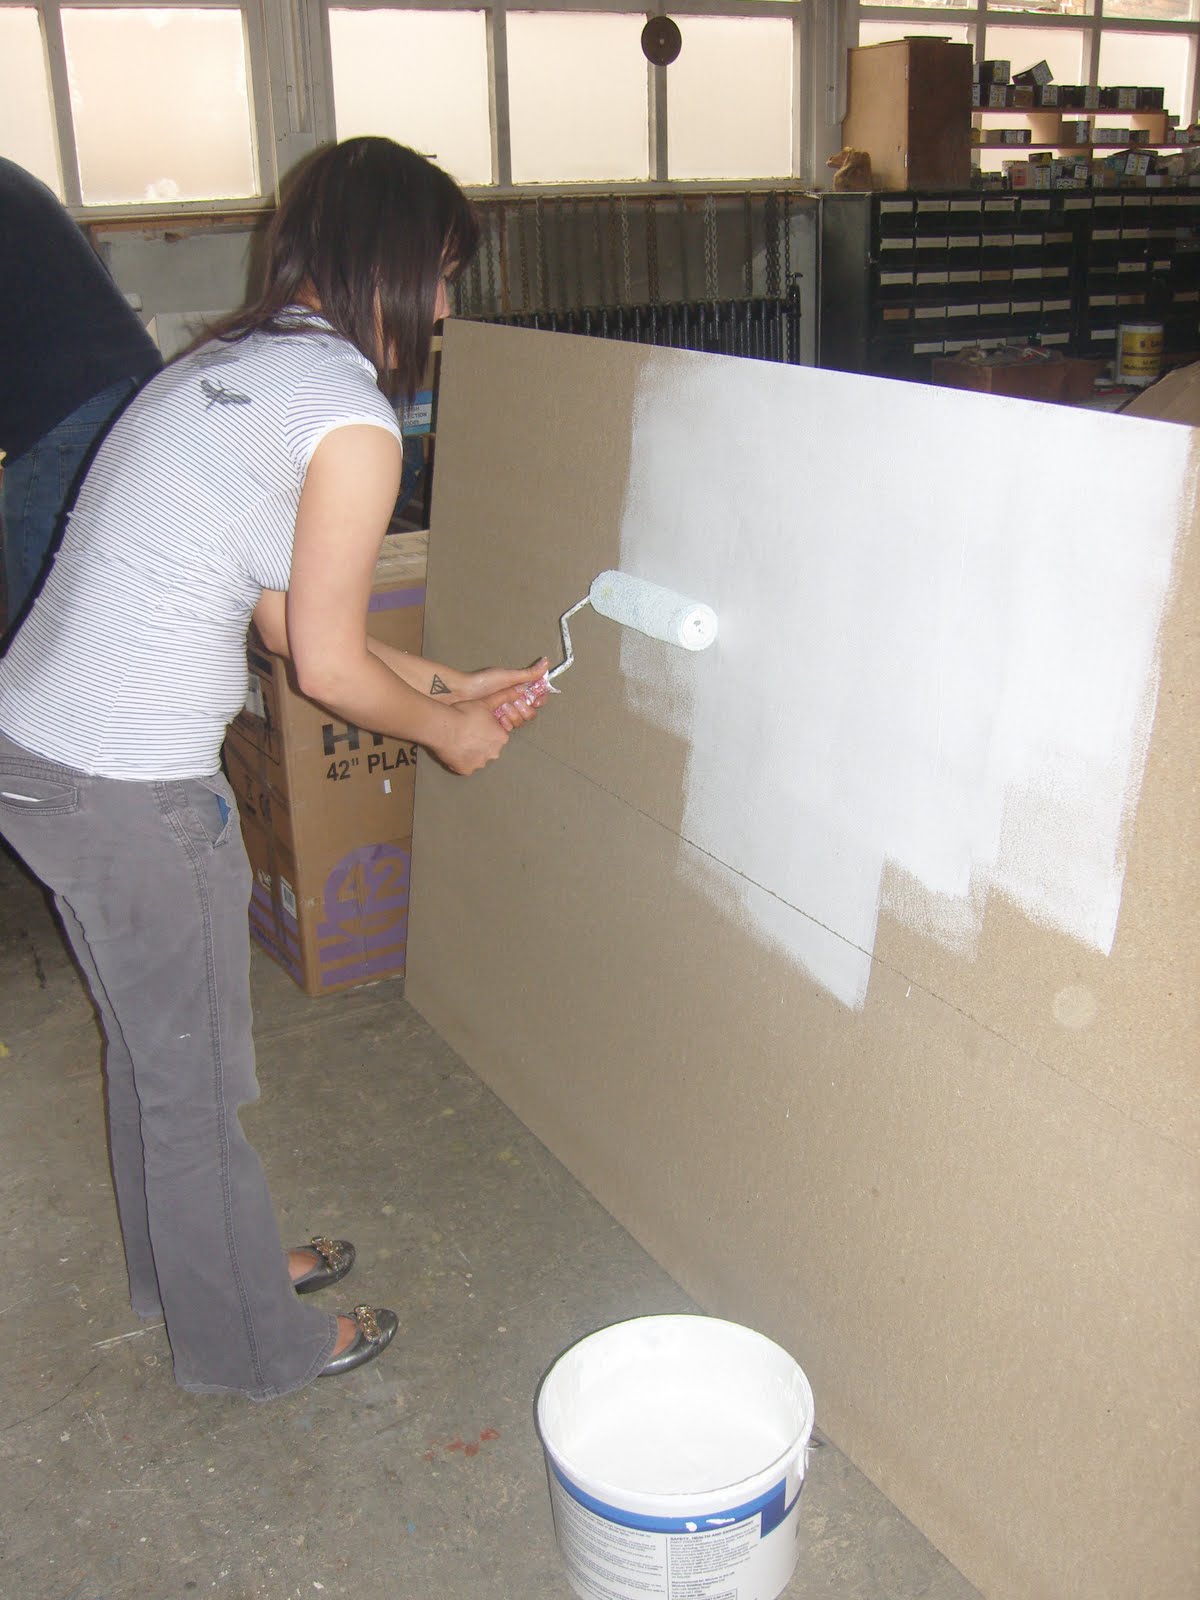

I used an old sketch i had made for a background for photographing some dolls, painting this on a larger scale meant that it needed simplifying quite a lot.
Half finished!

Finished!

Looking back now; i wished i had carried the stripes down onto the floor, rather than using leaves. I think it would have been much more effective.

After doing the first two shoots, i had to re-paint the set. This time it was much easier than the first, as i didn't have to construct anything!
Heres my original sketch of what i was going to paint;

The way the shadows on the walls are curving in that way is inspired by The Cabinet of Dr Caligari.

There are a lot of things i would've done differently if i had the time, space and funds. But without mistakes we have nothing to learn from in the future. And despite that, i'm very proud of my sets, and seeing something thats been in your brain for months suddenly become real is magical!
No comments:
Post a Comment