Overall i think this project was a huge success. Although we had to change a lot of our ideas (for models and clothing) i think it worked out really well, our original idea was to work with fashion standard models to give it more of an editorial look but a lot of those models kept letting us down. So, in the end we worked with a lot of the models we know are reliable and trust worthy.
If i could now, looking back, i would make slight changes to the set.. mostly involving the floors i used. I would have liked to make the floors a bit more interesting. I feel like when i used the leaves in the first set it distracted from the painting, it would have been better to do something more elaborate.
Despite the flaws i am very proud of what me and the team have achieved, the lighting wasn't perfect in some shots, but i think the shots i have chose all work together really well. And, despite any flaws, i have worked so hard on this project, i also feel like i have learnt a lot and make some really good contacts.
I also want to say thanks to all the people involved in this project;
Little Sofi
Simon Woolley
True Bud Floristry
Laura Ruxton
Peggy Soo
Dollywood
Maria Dimune
Lexi Sexx
Katey Lauren
Black Lotus Clothing
Tanya Townley
& of course, my partner in crime:
Alice Birchmore
Also a special thanks to Stephen Irwin at Blackburn Museum, I really don't think this project would have been such a success without his continued support and help. From being enthusiastic about us loaning the props to helping us construct sets and even suggesting to us that we use the Museum's workshop whilst we were in the planning stages of the project.
Sunday 22 May 2011
Saturday 21 May 2011
Mock-up editorial - title page

Alice Birchmore wanted to submit her work as a mock-up editorial, so i came up with this title page for her.
Wednesday 18 May 2011
Feedback from Alice Birchmore
"I feel very lucky that I had such a great photographer to work with on my FMP. It was sometimes a little stressful but together we managed to create a great set of images.
I really love how Sara came up with different ways of lighting each character, and with various ways of dressing the set, using the props in the museum to her full advantage.
We did most things together, such as deciding on which characters to create, selecting the models and agreeing on the looks for each character. I also found it really useful to be able to bounce my ideas off Sara and for her to give me honest feedback so I could amend my makeup designs.
The photography really brought out my make-up, and created the exact atmosphere and look I imagined for each character.
Really happy that we did this as a team, couldn't have done it without her!"- Alice
Sunday 15 May 2011


Wednesday 11 May 2011
Post Production
In this post i'm going to attempt to explain my workflow in post production, and my own thoughts on the matter. I shoot in RAW format, so everything i shoot gets processed in some way, for this i use Lightroom 2. Lightroom for me, is mostly used for changing colour temperatures/contrast/exposure. I use photoshop to smooth skin, brighten eyes, darken backgrounds and add texture layers if i feel like it. I get the feeling that with retouching, and processing images a lot, other photographers think of it as a lazy and 'i can fix that later' attitude. With me, this is not the case at all, i always try and get lighting, white balance, exposure etc right in camera, but some things simply cannot be done using just a camera. I have my own 'signature' style, and the look of my images cannot be achieved without post-production. I want to be open about how my images are made, and for me this is part of the whole process of creating an image, the end result is the only one that matters. Personally, I am not interested in photographing reality, as Man Ray once said "I do not photograph nature, I photograph my fantasy"
Below is a typical example of my editing:

Below is a typical example of my editing:

As said before, i shoot in RAW, in this case - i'm not sure why, the body paint showed up blue when i imported the files, so my first step was to correct this and make it green again like it was in real life. I upped the reds to give some 'umph' back into the red wig, which was looking a little lack-luster in the raw image. I also added much more contrast. I then exported the file into Photoshop CS5, my first step is to remove any blemishes and distractions, for this i use a combination of the patch and clone tool. Next, i duplicate the background layer and set it to mutliply, i then add a layer mask and paint over the background.. this makes the background darker, which in turn makes the subject stand out a lot more. Next i do some more colour tweaking, lighten the eyes and darken the eyelashes. For this specific set of photos i added a Radial Blur filter and masked off important areas, and then lowered the opacity. This creates the blurred look around the edges, i know i could've used my lensbaby for a similar result, but i wanted the flexibility. My last step is to add a texture, i add it into a new layer, and then mask off the centre of the texture (by using the selection tool with a very high feather - usually 250) and then change the opacity of that layer to taste.
Tuesday 10 May 2011
Shoot#6: Miss Argentina
This shoot was an extra shoot, that we were only going to do provided we had enough time when we had finished the other shoots. Miss Argentina isn't a particularly big character, and she only actually appears for a few minutes in Beetlejuice, but we thought she'd be a really good character to portray, and especially good to show off Alice's skills. This shoot was on the 6th of may, Little Sofi was the model and the styling was by me.
This is Miss Argentina:


Final Shots:

ISO: 100, f/3.2, 24mm, 1/160sec

ISO: 100, f/3.2, 24mm, 1/160sec

ISO: 100, f/3.2, 24mm, 1/160sec
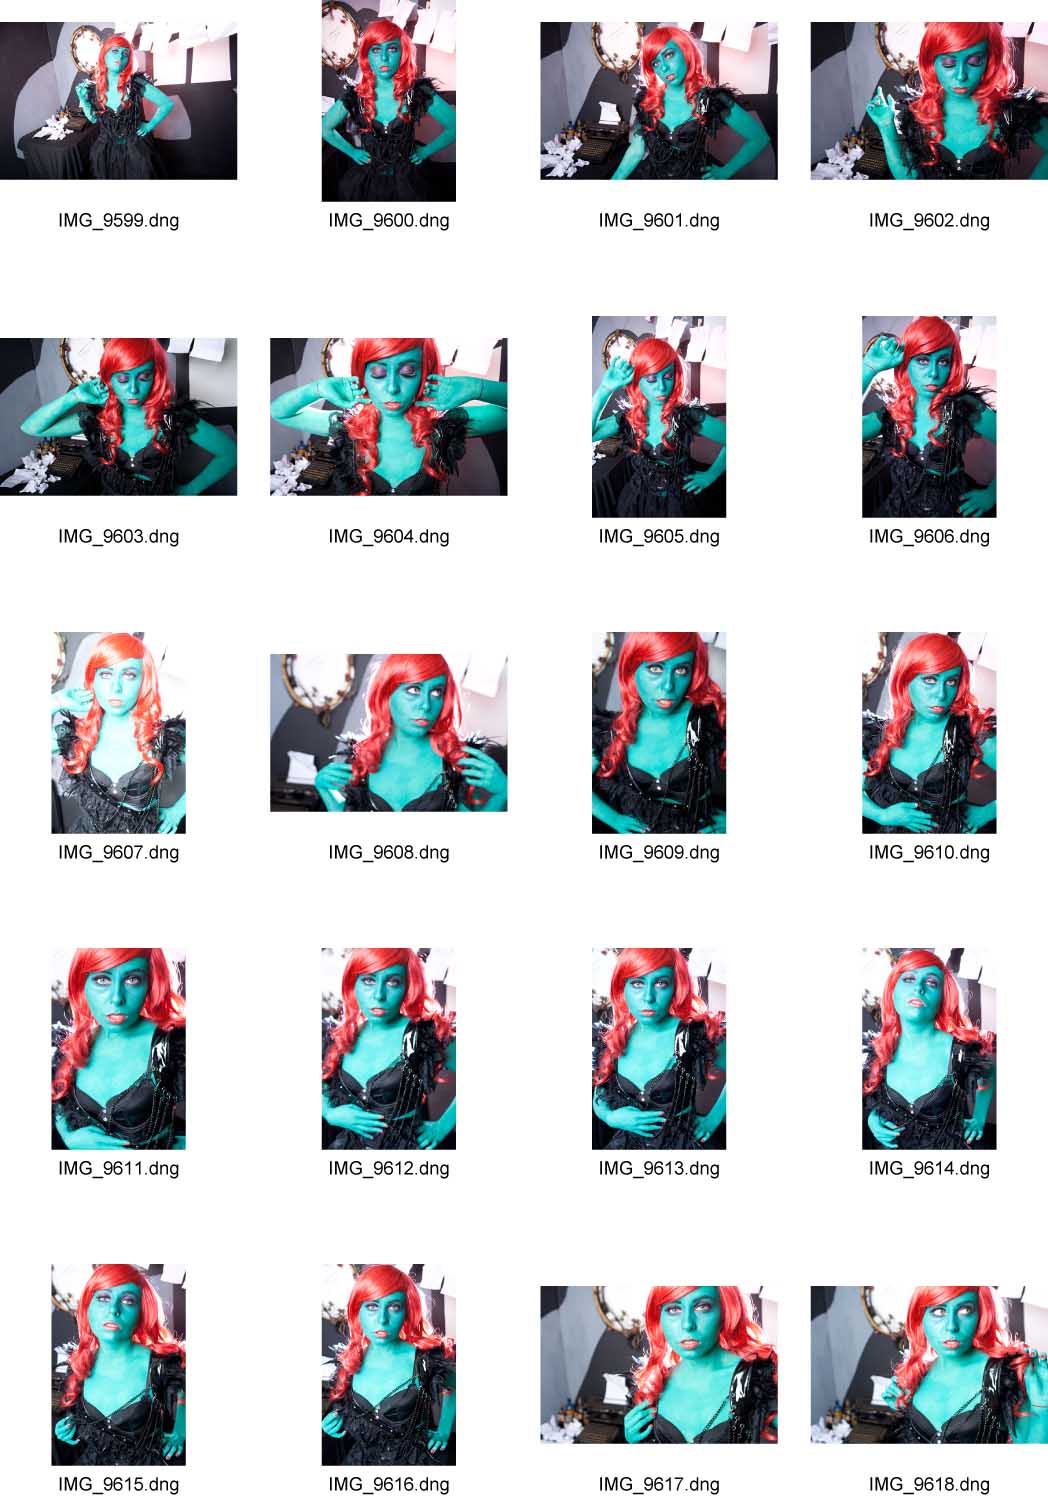
Contact Sheets:


Friday 29 April 2011
Shoot#5: The Nightmare Before Christmas
This shoot was on the 27th April, Tanya was the model, and Laura Ruxton Designed the dress (and 'Jacks' tailcoat!)
Close ups of the props;

Jack


As before, i used the same lighting as on all the other shoots.
Final Images

ISO: 100, f/5.0, 16mm, 1/250sec

ISO: 100, f/3.5, 24mm, 1/250sec

ISO: 100, f/5.0, 16mm, 1/250sec

ISO: 100, f/3.5, 24mm, 1/250sec
Contact Sheets:


Subscribe to:
Posts (Atom)